What Happens During a Professional Leak Detection Service?
People are wary of paying for something they cannot see happening. Here is exactly what the process involves, what each tool does, and what you should walk away with.
The short answer
A proper leak detection runs in five steps: confirm and quantify the leak at the meter, isolate hot side from cold, trace where the pipe actually runs, pinpoint acoustically, then confirm with thermal imaging or tracer gas. You should leave with a marked location, photos and a documented loss rate.
Leak detection is a service people are reasonably suspicious of, because you are paying somebody to find something invisible using equipment you cannot evaluate. That suspicion is fair, and the answer to it is transparency about what actually happens.
So here is the whole process, step by step. Not the sales version — the actual sequence, what each tool does and does not do, and what you should have in your hands when it is finished.
The short version: it is elimination. Each step cuts the search area, and precision is the entire product. Any plumber can find a leak by opening enough wall or concrete. Marking an X within a foot before anything is cut is what you are actually buying.
Step 1: Confirm the leak exists and measure it
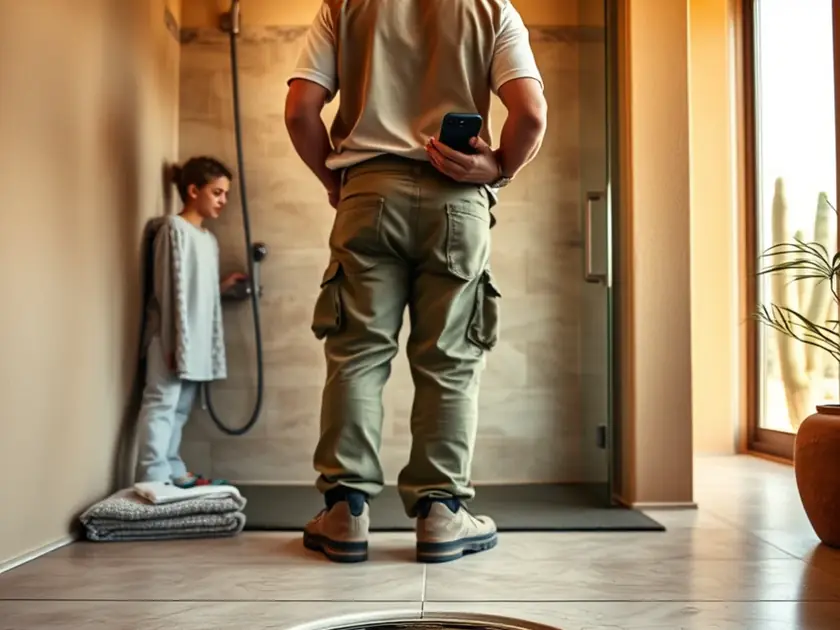
Nothing sensible happens before this. We turn off every fixture and water-using appliance in the house — including the ice maker and any irrigation controller, both of which get forgotten — and watch the leak indicator on the water meter.
That little triangle, star or dial spins with any flow at all. If it moves with the house at rest, water is escaping somewhere. If it does not, there is no supply-side leak and we need to be looking at something else entirely — a drain leak, roof intrusion, or condensation.
We then time it. Two meter readings a set interval apart give a measured loss rate rather than an impression. That number matters for two reasons: it tells us roughly what size of failure we are hunting, and it is often decisive evidence for an insurance claim.
Next we close the main shutoff at the house and watch again. Indicator stops means the leak is inside. Indicator continues means it is in the underground service line between the meter and the house — a different repair, and one a lot of homeowners are surprised to learn is their responsibility.
Step 2: Narrow it down before listening for anything
This is the step that separates a methodical detection from an expensive guess, and it involves no specialist equipment at all.
We isolate the water heater to determine whether the leak is on the hot side or the cold side. That single test halves the search area, and it is genuinely conclusive — if the meter stops when the heater is isolated, the leak is on the hot line.
Then we isolate individual branches and fixtures where the plumbing allows it, watching the meter after each one. In houses with reasonable shutoff valves this can narrow a leak to a single run in twenty minutes.
We also walk the house properly — checking for warm spots underfoot, listening at floors in quiet rooms, looking at baseboards, checking cabinet bases, and going outside to look for anything suspiciously green in a gravel yard.
By the time equipment comes out, we usually have the leak narrowed to a fraction of the house. That is why the equipment then works.
Step 3: Trace where the pipe actually runs
People assume plumbing runs in straight lines between fixtures. It frequently does not, particularly in homes that have been remodelled or where the original plumber routed around something.
Line tracing puts a signal on the pipe and follows it from above, mapping the real route and depth beneath a slab or inside a wall. On a non-metallic line we can introduce a traceable probe or use the same principle with a sonde.
This matters because acoustic detection works best when you know where to listen. Sweeping a floor with a ground microphone hoping to stumble across a sound is slow and unreliable; sweeping along a known pipe route is fast and accurate.
It also prevents the worst outcome in this whole business: cutting concrete in the right general area and missing the pipe.
Meter isolation
Proves a leak, measures the loss rate, separates inside from service line.
Hot / cold isolation
Halves the search area in one test. No equipment required.
Line tracing
Maps the true pipe route and depth so listening is targeted rather than hopeful.
Acoustic + thermal
Pinpoints the escape point and confirms it. The final step, not the first.
Step 4: Acoustic detection — what it can and cannot do
Pressurised water escaping through a small opening makes noise. Not noise you can hear standing in the room, but a distinct signature that a ground microphone and amplifier can pick up through concrete and tile.
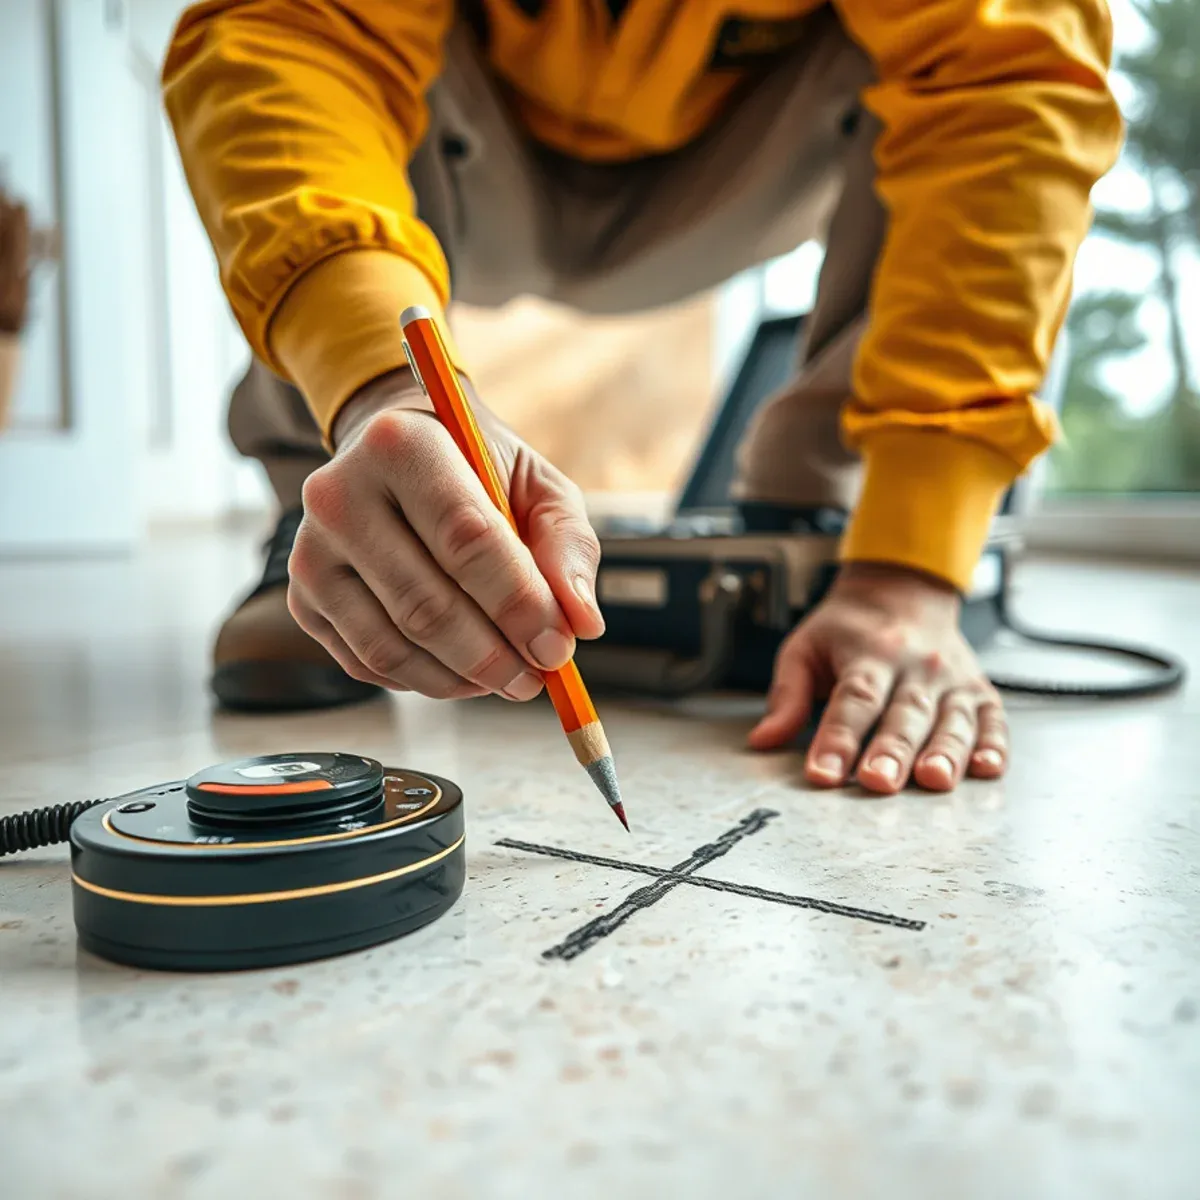
The operator moves systematically along the traced pipe route, listening at intervals and noting where the signal peaks. Done properly on a quiet slab, this localises a leak remarkably tightly — routinely within a foot.
What it needs: quiet. Air conditioning off, appliances off, television off, everybody sitting still. We will ask for that, and it genuinely matters — a running AC compressor masks the signal completely.
What it struggles with: very small leaks that are not making much noise, leaks under thick or heavily reinforced concrete, carpeted floors with thick pad, and cold-side leaks which tend to be quieter than hot-side ones. That is when the other tools earn their place.
Step 5: Thermal imaging and tracer gas
Thermal imaging does not see water. It sees temperature difference, which on a hot-water slab leak is enormously useful — the escaping hot water heats the concrete around it and spreads a plume that shows clearly on a thermal camera.
It also shows how far moisture has already travelled through the structure, which is frequently further than anybody expects and is important for deciding what has to come out and dry.
It is much less useful on cold-side leaks, where there may be little temperature contrast at all. For those, and for anything the acoustic gear cannot resolve, tracer gas is the answer: we isolate and drain the suspect line, pressurise it with an inert hydrogen-nitrogen mix, and detect where that gas surfaces. The molecule is small enough to travel through concrete and soil, and a gas detector at the surface finds it.
That is the most involved step and it is not needed on most jobs. When it is, it is what turns an unresolved search into a marked spot.
What you should have at the end
This is the part to hold any leak detection company to, including us.
A marked location on your floor or wall, not a general area. Photographs of the marked spot and the surrounding context. Thermal images if thermal was used. The measured loss rate from the meter test with the times recorded. A clear statement of whether the leak is on the hot or cold side and which line it is on. And a written repair recommendation with options — spot repair, reroute or repipe — each priced separately.
You should also be free to take all of that somewhere else. We price detection as its own service specifically so it stands alone. Most customers do have us do the repair, and that should be because the quote was fair rather than because they were locked in.
If a company finds your leak but will not give you documentation, or will only tell you where it is if you commit to the repair, that is worth walking away from.
Frequently asked questions
Precision is the product
Anybody can find a leak by opening enough of your house. Detection exists so that the opening is one contained cut in the right place, which is the difference between a plumbing repair and a room that has to be rebuilt.
Run the meter test yourself first — everything off, watch the indicator. If it moves, call us, and we will bring the rest.
Services mentioned in this article
- Leak Detectionin Apache Junction, AZ
- Slab Leak Repairin Apache Junction, AZ
- Burst Pipe Repairin Apache Junction, AZ